
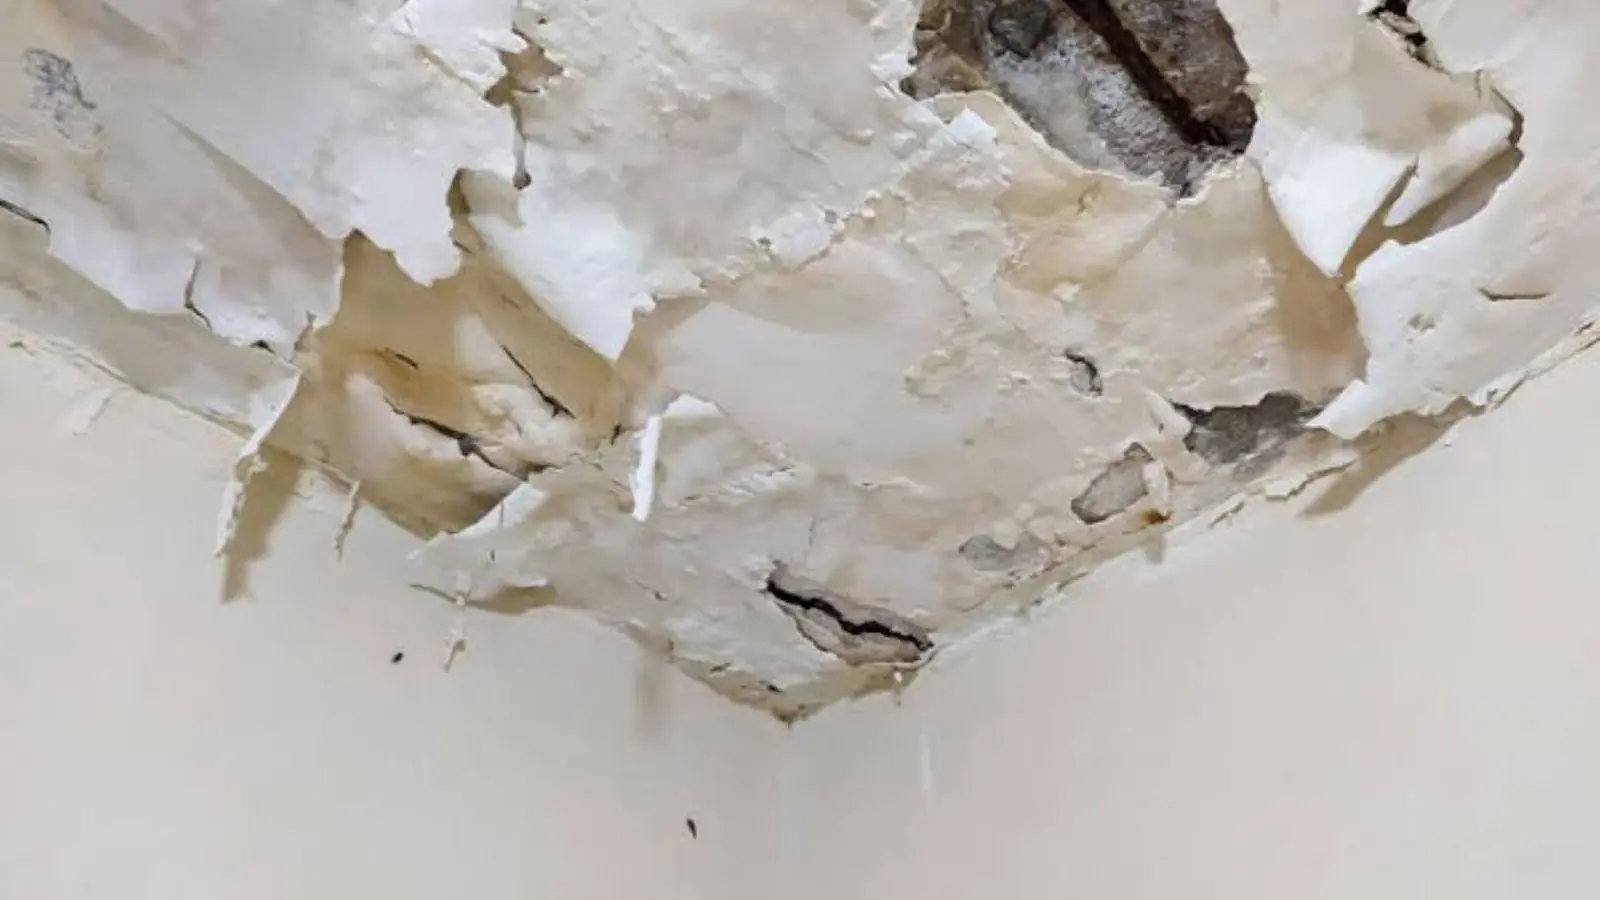
Repairing a water damaged ceiling is a sequence, and the order matters more than any single skill. Fix the source, prove the materials are dry, cut out what failed, then rebuild in layers: drywall, tape, joint compound, texture, primer, paint.
Skip the first two steps and the best paint job in the neighborhood will stain again by spring. This guide walks the whole ceiling water damage fix, shows where a careful homeowner can do the work, and points out the jobs that belong with a licensed crew.
Before you touch drywall: source fixed, area dry
Repair comes last. If a roofer, plumber or air conditioner technician has not fixed the cause, the new drywall just becomes the next wet one. Written confirmation of the fix, even a short invoice, is worth keeping for your records and for any insurance claim.
Then prove the ceiling is dry. A pin-type moisture meter pressed into the drywall and the framing above it gives you numbers, while a hand on the surface only tells you about the paint. Compare against a dry wall in the same room, and keep drying until the wet area reads close to that baseline.
- Run fans and a dehumidifier in the room, and open the cut area to air.
- Pull out wet insulation above the ceiling. It rarely dries well in place.
- Check joists and top plates for dark staining or soft spots, and probe them with a screwdriver.
- Remember the EPA window: drying wet materials within 24 to 48 hours of a leak usually prevents mold growth, and mold needs moisture to grow.
If the ceiling stayed damp for longer than that, or you see fuzzy growth or smell mustiness, stop and read about mold remediation before patching over it.
Which damage needs a patch and which needs a new panel
Not every stain needs demolition. The table gives a practical way to decide, based on what the drywall feels like after it is fully dry.
| Condition of the drywall | Usual approach | Do it yourself? |
|---|---|---|
| Dry stain only, surface firm, no sag | Stain-blocking primer, then repaint | Yes, if the source is fixed and the meter reads dry |
| Bubbled or peeling paint, board still firm | Scrape, skim coat, prime, paint | Yes, with patience and a dust mask |
| Soft, crumbly or sagging area up to roughly two feet | Cut out and patch with new drywall | Often, if no wiring or ducts are in the way |
| Large sag, whole panel wet, or insulation soaked | Remove and replace the panel, dry framing | Better hired out, especially overhead |
| Dark growth, musty smell, or water from a toilet or drain | Containment and cleanup before any repair | No. Call a professional |
When in doubt, remove a bit more than the stain shows. Wet drywall that looks fine usually has weak paper behind it.
Water in the house right now? Our dispatch line is open 24/7.
☎ Call (626) 879-0276Cutting out and replacing the drywall
Turn off power to the room at the breaker before cutting near fixtures or wiring. Mark a square or rectangle around the damaged area that reaches the center of a joist on two sides. A utility knife scores clean edges and a drywall saw finishes the cut.
Screw a wood backer to the joist or add a 1x3 cleat on the other two sides so the new patch has something to bite. Cut drywall the same thickness as the old, usually half inch in a ceiling, and fasten it with drywall screws set just below the paper. Overhead work is awkward and heavy, so a second person and a drywall lift or a pair of props helps.
- Wear eye protection, a dust mask and gloves, and cover the floor with plastic.
- Check for wires, pipes and ducts before cutting deep.
- Space screws about every 6 to 8 inches and keep them 3/8 inch from edges.
Tape, mud, sand and texture
Embed paper or mesh tape over the seams in a thin coat of joint compound. Let it dry, then apply a second wider coat, feathering the edges two or three inches past the first. A third thin coat usually hides the transition. Sand lightly between coats with a pole sander and wipe off the dust before the next step.
Texture is the part people notice. Many ceilings carry an orange peel, knockdown or popcorn finish, and the patch has to match. Spray cans of texture work for small areas, and a hopper gun handles larger ones. Test on cardboard first, and expect to adjust for the way light rakes across the ceiling at different times of day.
Older popcorn ceilings need extra thought because of what the material may contain. If your home is older and the texture is original, get it tested before sanding or scraping.
Prime, paint and know the limits of the cover-up
Prime the patch and the entire stained area with a stain-blocking primer. An oil or shellac-based product holds back old tannin and rust stains the best, while water-based blockers work for lighter marks. Let it cure, then apply two coats of ceiling flat paint, painting the whole ceiling plane edge to edge so the sheen stays even.
Primer does not fix moisture. If a stain comes back through the paint, the ceiling is still getting wet or the cause was never solved, so go back to the source before spending more on cosmetics.
When to hire a crew and what to ask
Hire out if the wet area is large, the ceiling is high, wiring runs through the opening, or the water was dirty. Rebuilding with a trade crew is the better route when drying equipment is also needed, because a restoration company can dry and rebuild under one scope. Our water damage repair work page explains what that rebuild phase covers.
Under California rules, work worth $1,000 or more in labor or materials needs a contractor licensed by the Contractors State License Board, and you can verify any license at cslb.ca.gov. Ask for a written scope that names the drywall, texture and paint, and keep your before and after photos. Call (626) 879-0276 if you'd like to talk through scope before deciding.
Repair planning in Temple City
Whether a ceiling repair needs a permit depends on the job, so ask the City of Temple City Building & Safety division before you start rather than guessing. The permit counter is open Monday to Thursday, 8:00 to 11:30 AM and 1:30 to 4:30 PM, and appointments are recommended. A permit is valid six months once issued, so schedule demolition and drywall so inspections fit within that window.
If you live in nearby Rosemead, our page on water damage restoration in Rosemead covers what we handle there. In San Marino, most homes were built between 1920 and 1950 and the city applies strict design review, so owners there should read about water damage work in San Marino and ask the city before changing a ceiling finish.
Frequently asked questions
Until a moisture meter reads close to a dry reference wall, not for a fixed number of days. Many materials take several days with air movers and a dehumidifier. Patching over damp drywall risks mold and a repeat stain.
Yes, if the board is firm, dry and not sagging. Scrape loose paint, prime with a stain-blocking primer, and repaint. If the board is soft or crumbles, it has to come out.
Either the ceiling is still wet from an unsolved leak, or the primer was too light for the stain. Use a stain-blocking primer on dry drywall, and confirm the source is fixed.
In California, work worth $1,000 or more in labor and materials needs a contractor licensed by the CSLB. Smaller patches can be a homeowner project, but verify any hired contractor at cslb.ca.gov.
It depends on the job. A cosmetic patch is different from structural or electrical work. Call the Temple City Building & Safety division at (626) 285-0488 and describe exactly what you plan to do before you start.
Questions about your home? Talk to the 24/7 dispatch line.
☎ Call (626) 879-0276